However, since I've had nothing but spare time with my lack of career, I decided I deserved some time to do something fun to help me relax. Things that take away my stress: running, cooking, concentrating really hard on something other than what's making me stressed. Well, I already have have a blueberry buttermilk bundt cake sitting in the kitchen so baking is kind of out of the question. I had already run 3.1 miles yesterday and, although I could run some more, I still wouldn't feel accomplished afterwards. At least baking would produce a final product I could be proud of (and eat!). It was another rainy day in Georgia yesterday so, I thought, well, what the heck, let's craft something!
So I went to my handy dandy Pinterest board and narrowed it down to decorative pumpkins (to put me in the mood for Fall) or monogramed glass ornaments (eh, who needs Fall. Let's skip straight to Christmas!) In the end I chose glass etching because I
So I got some cheap glassware from Goodwill, paint and etching cream from Michael's and Con-Tact paper from Home Depot.
Here are the glasses I bought:

I have plans for etching the small vases and the tall rectangular one later. For now, I wanted to start with a cute vintage milk bottle.
Step 1: Spray paint! Honesty time. This was my first time spray painting. It was so much fun!!! I was kinda sad when it was all done and there was nothing left to paint... The paint I used was Krylon colormaster in Ivory.

The bottle said it only took ten minutes to dry but, I needed more time to cut out my stencil so it ended up drying for hours. I made my design myself and printed it on copy paper. Then I cut a piece of contact paper, laid it over the design and traced it as best as I could. I messed up once and had to do it again. Honestly, I didn't think this through very well. My design was way too small and intricate to be cut by hand, especially with a box cutter on crummy cardboard. To say this is an amateur project is an understatement. It was almost comical to watch me try and cut those delicate lines.

In the end, I settled for an imperfect stencil because I knew there was only so much I could do. I painstakingly placed it on the "milk bottle" and painted over it with Martha Stewart glass paint (vanilla bean). The bottle said to let it air cure for 21 days. 21 DAYS!!! So I left it dry over night before I pealed the stencil off.

From far away, it doesn't look too bad! (I hadn't put the lettering on yet).

Up close, however, is a different story... This thing looks like an old woman with a shaky hand painted it while she was sneezing!
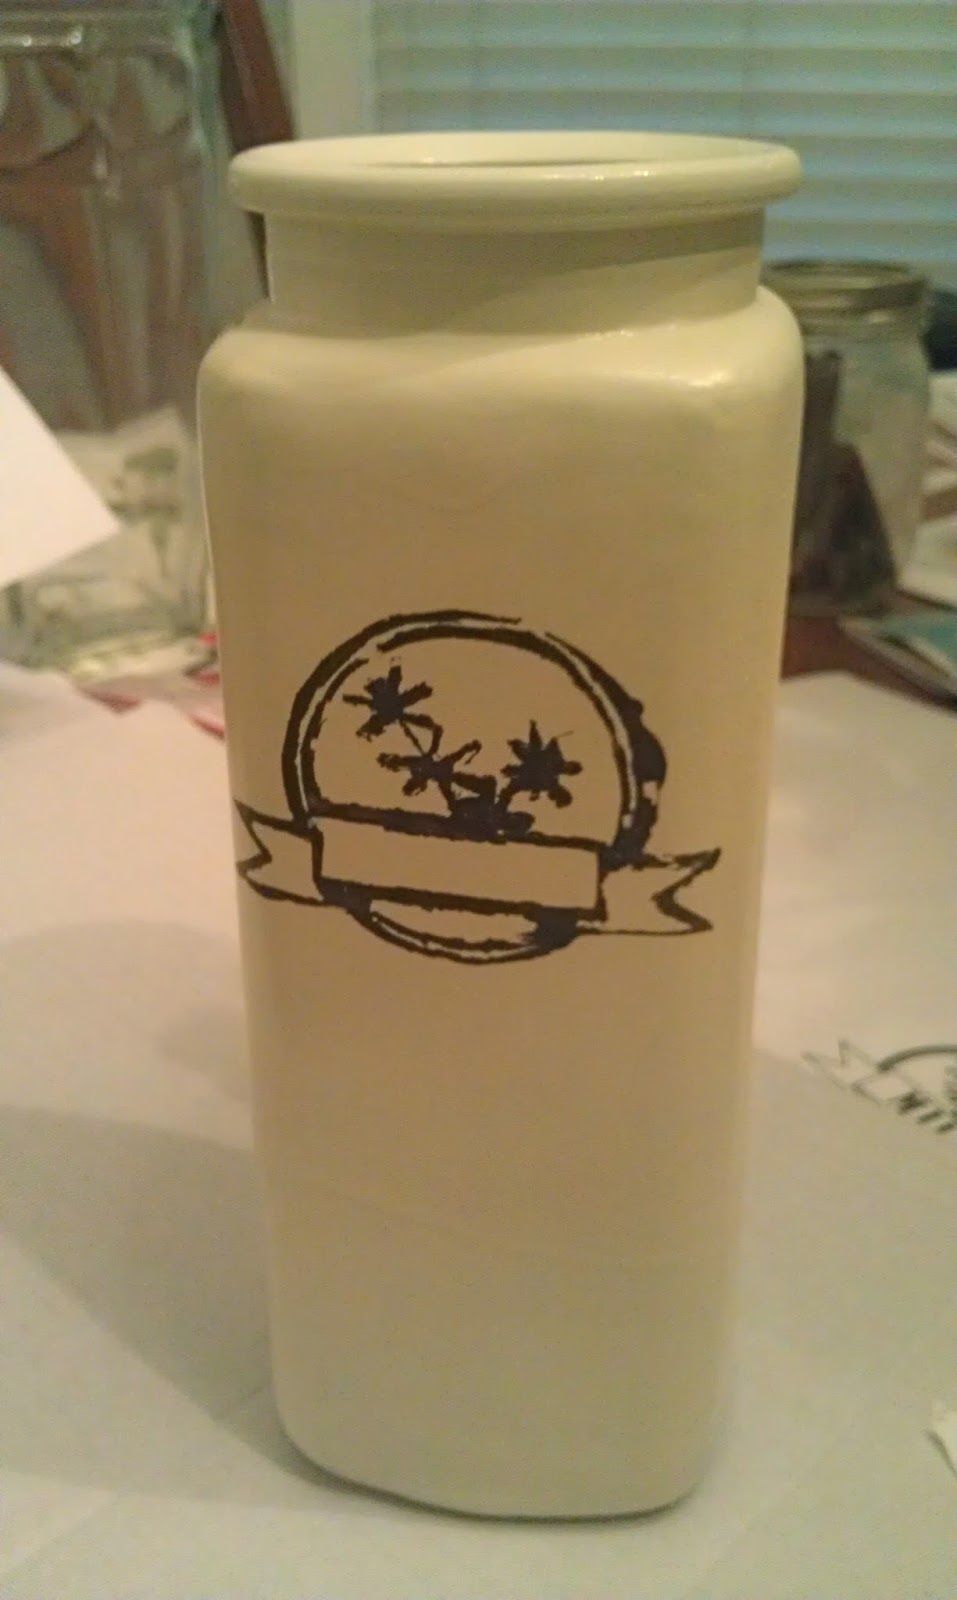
The final product, words and all. Not too bad but, not fantastic either...


My mom and I looked up some machines that would make the delicate cuts for me, using my own design and boy, are they expensive!! Overall, I'm glad I finished something and I don't completely hate it. The design looks fantastic, if I do say so myself, and the idea was inspired! In the end, it did what it was supposed to- I concentrated hard on something other than my stress and produced something I can be proud of. I'm also encouraged to keep practicing and making cool projects! I'll post about the actual etching later!
I endlessly am waiting on forthcoming to your posts again because I have impressed through your writing.Artisan Glass Bottles
ReplyDelete